Summary of the design and implementation
Motivation for the work of Summer 2020
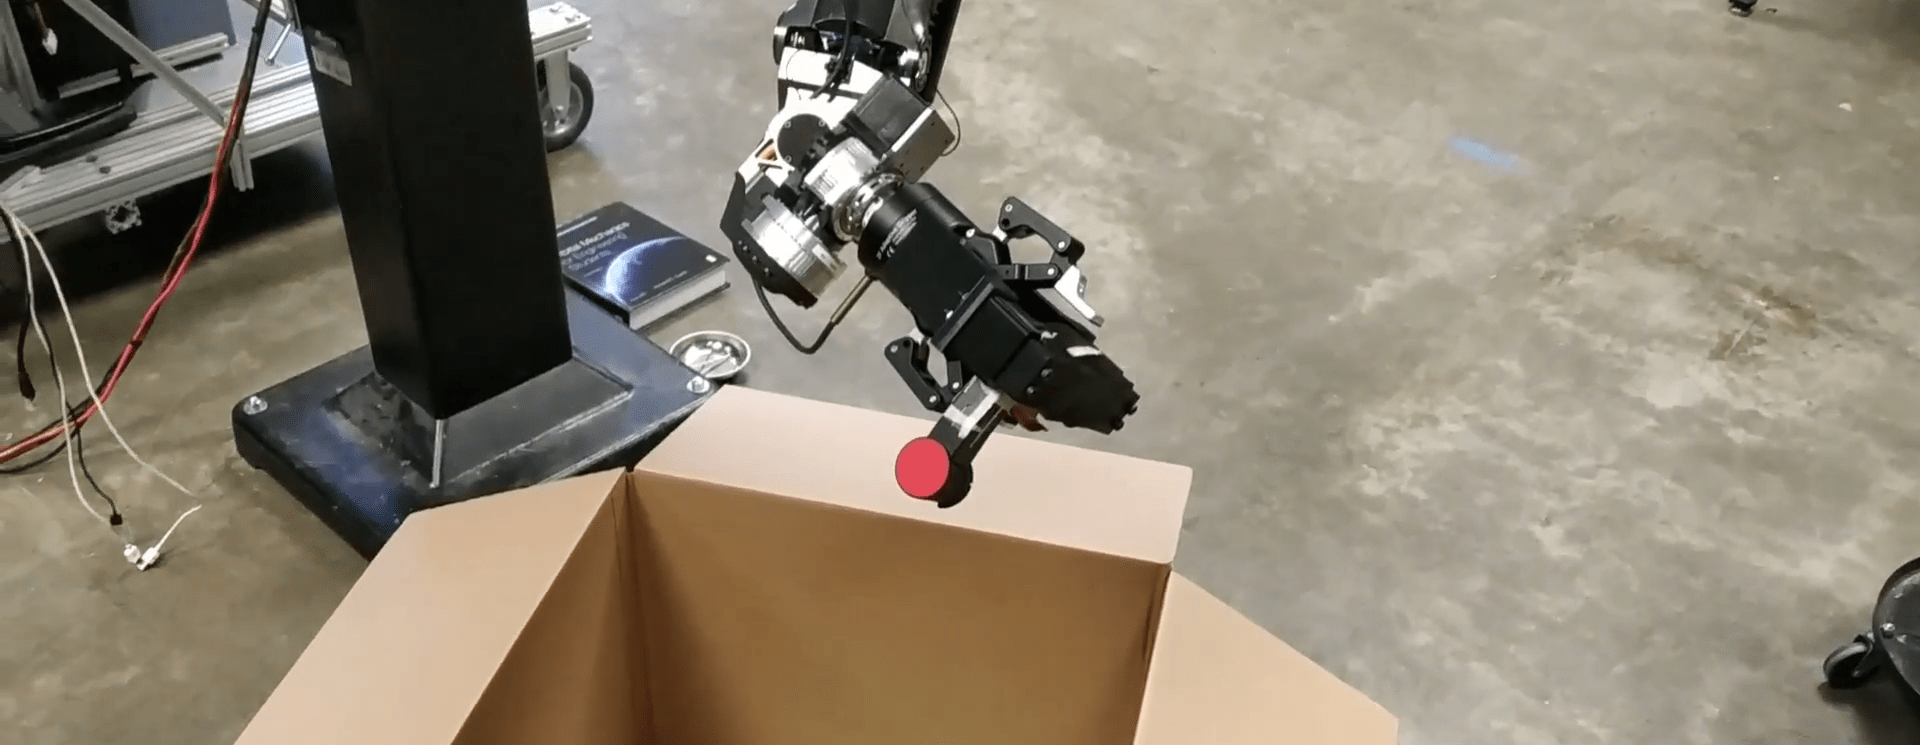
We want to provide a solution for mimicking human operators manipulating spraying cans and cleaning materials, we have the robotic arm Scorpio designed by Apptronik and a gripper from Robotiq at our disposal. The initial intent here is to provide a working demonstration in a delay of 3 months, paving the way to more advanced human-like trajectory tracking in the future.
https://www.youtube.com/watch?v=u6k4HucUqpA&ab_channel=NicolasBrissonneau
Design context

Above are three potential configurations to use the spraying can, we notice that the main means of assembly for the interface we plan to add are two planar surfaces at the base of the gripper, with an additional cylindrical surface to support the structure radially. While it is possible to design an independently actuated assembly to activate the spraying (arduino/raspberry pi + actuator + power), we want to minimize the complexity of the assembled system and final software. The philosophy behind the proposed design is to limit the number of interfacing components and to maximize the use of the assets we already have with the existing parts. In short we want a very practical solution with little design, production and assembly complexity. We have started envisioning the use of gun-shaped devices to interface the gripper with the can as the trigger is a good fit for the gripper’s grasping capabilities. We have thus ordered two models, a can-gun1 2012 and a 3M Accuspray Spray Gun Kit HPG shown below.

Assembly idea

Using the gripper’s base surfaces, we would attach two supporting parts (blue) which place the device’s handle within reach of the gripper’s “fingers” and a locking part (green) would fix and rigidify the assembly. However, the scale of such spraying devices require better fitting parts.

Adaptable interface with mold-like design:
Photogrammetry process (Meshroom):
-
Take pictures of an object

Robocup - Identify features from the object which appear in several pictures
- From the identified features, derive a guess of the camera positions for each picture
-
Infer the 3d location of the object’s features

Robocup -
Infer a mesh based on the 3d points found

Robocup 
Robocup
Mesh editing (Meshlab):
- Trimming
- Mesh simplification
-
Surface smoothing

Robocup
Mesh editing (Blender):
-
Import mold-like surfaces

Robocup -
Add volume

Robocup -
Smoothen irregularities

Robocup
Use in assembly :
- Add support surface
-
Adapt for assembly

Robocup -
Generate interfacing parts

Robocup - It will be printed, 3d printing guidelines should especially be kept in mind for this design
- Surface contact constraints locate parts with respect to each other, while screws and nuts fix the assembly (they are never meant to position parts as this would lead to a non-repeatable and mechanically weak/unsafe assembly)
- Curves are almost always good mechanically speaking
-
Assemble everything

Robocup -
Iterate the design until the assembly is satisfying

Robocup
3d printing (Cura):

- Avoid overhangs in your design when possible, by using angles smaller than 45 degrees.
- Avoid large flat surfaces and use rounded corners to avoid warping.below.
- Decide what is the minimum level of detail your models require and choose a 3D printing process accordingly.
- Cylindrical holes’ axis should be as perpendicular to the printing surface as possible
- 3d printers do print layer one above the other, so the main mechanical weakness of a 3d printed part is between each printed plane (avoid stressing the part in the plane parallel to the printing surface or adjust the density)
-
Remember to calibrate your printer every now and then to avoid accidents

Robocup
Preliminary assembly and testing
For the first test the arm was not moved, only the gripper was activated to test the spraying and an Evian spray can was used as it’s a safe cosmetics product. Electronics exposure seemed negligible in this configuration, but ... better safe than sorry. It worked well.

Solution for including cleaning material
-
Add flat top surface to previously designed parts

-
Add gripping components with various interchangeable frictions plates for different cleaning materials to grip to

Robocup -
Print and test

Robocup
Simulation with PnC:
- Adding visualization of the can and spray direction
-
Creating simple end-effector trajectories in operational space from within the gazebo plugin with
- Relative and absolute pose control
- Duration specification

Robocup